


New DIY challenge: frame a mirror
When it comes to decorating the space, it is always a good idea to 'insert' a mirror. In addition to being a great solution for visually increasing space, they are a good 'decoration'
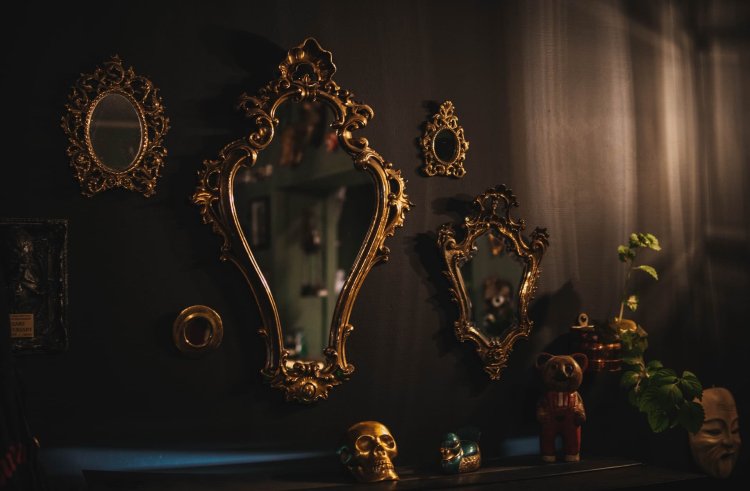
When it comes to decorating the space, it is always a good idea to 'insert' a mirror. In addition to being a great solution for visually increasing space, they are a good 'decoration' on the wall and an addition to the atmosphere. But sometimes it's hard to find the mirror you imagined, how it would suit you. Why don't we make it ourselves?
If you think about it, chances are that you can actually do anything you want, yourself. But one big question arises–should you do all these things yourself? Probably not. It is necessary, however, to have some knowledge and to get by in a business. And probably the mirror design project sounds like something you should leave to the experts, doesn't it?
Fortunately for you, that's not the case after all. Architectural Digest brings a short guide that can be mastered by literally anyone and even DIY beginners. Simply follow these eight steps and enjoy the result–a new, unique mirror. The fruit of the work of your hands!
1. Collect tools and materials
First of all, collect tools and materials for framing mirrors. You will need:
- Grunted MDF floorboards
- Meter
- Dragonfly
- Mitre Saw
- Liquid nails or wood glue of additional strength
- Mold and sealing gun
- Extra fine sandpaper
- Dye
- Brush
- Painter's Bar
- Gluing fabric
2. Measure your mirror
Use the tape measure to determine the dimensions of your mirror. You will also need to determine the size of the frame and whether it will be attached to the wall or you will install only a mirror. Consider the size of the frame when finalizing your measurements.
3. Cut the base
Use a saw set at an angle of 45 degrees to cut your boards to the appropriate length. If you do not have a cutting saw, many home repair stores sell ready-made decorations or have equipment that you can use in the store. Alternatively, you can also use panels with decorative corner slats. Note: If you attach the frame to the wall, you will need to cut the notch (for the mirror) into the wood so that the entire frame is flush with the wall.
4. Paint the stand
Having cut the boards to size, it's time to paint them. Paint the plates on all sides in the desired color. Do not forget to paint the back side, as it will reflect in the mirror. If necessary, use the second layer. Let the paint dry for at least two hours.
5. Sand the base
Lightly grind the bases with an additional fine grinding plate, then gently wipe them with a glue cloth.
6. Install the frame
After the paint dries, you will install a mirror frame. Starting from the lower part, apply glue to the back of the board, avoiding the edge closest to the mirror. Press on the mirror or wall and use the level to make sure the frame is flat. Fix with painter's tape. Repeat the process, add two lateral parts and finish with the upper part. Wipe everything at the end.
7. Tap the box
After the frame has completely dried, after about 24 hours, remove the painter's tape and fix all uneven corners with a seal. Apply the sealant with a sealant gun and smooth with a wet finger. After the sealant dries, fix with paint.
8. Be creative and customize your mirror frame
Using a stand from MDF is certainly the easiest way to frame a mirror, but you can also use different materials to make a unique piece. Try restored panels for a rustic look or bright colors that will match the color of the wall or wallpaper.